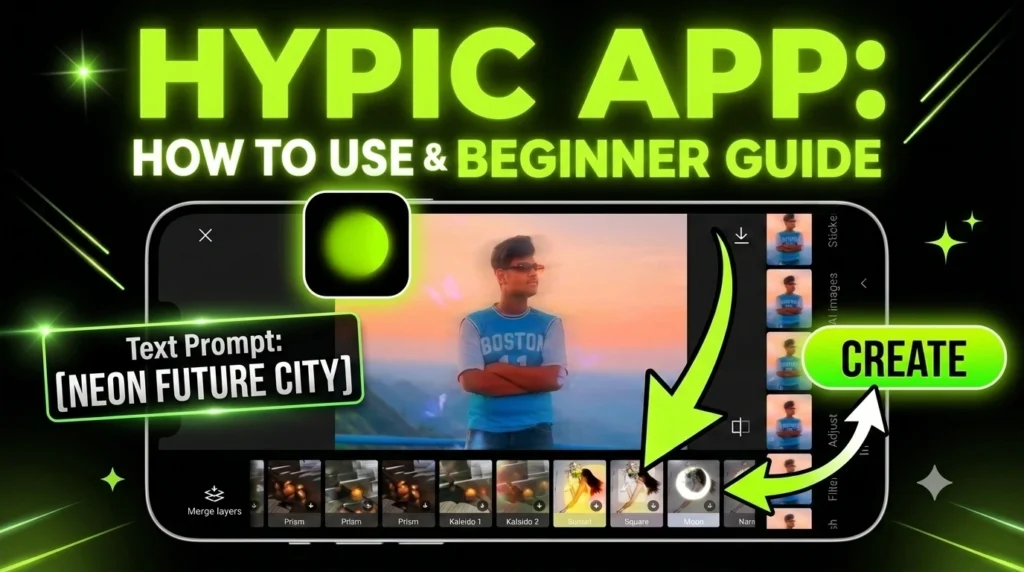
Photo editing has become much easier with AI tools, and Hypic AI is one of the easiest apps to learn. You don’t need professional editing skills to create beautiful photos.
Whether you want to improve a selfie, create social media posts, or make your pictures look more attractive, Hypic AI can help you do it in just a few minutes.
This guide is made for beginners. So even if you have never edited a photo before, you can follow along without any confusion.
What Is Hypic AI?
Hypic AI is a photo editing app that uses artificial intelligence to improve your pictures. Instead of spending a long time adjusting colors, brightness, or removing unwanted objects manually, the AI does most of the work for you.
The app offers many editing tools that are designed to save time while giving your photos a clean and professional look.
Some popular features include:
- AI Photo Enhance
- AI Background Editing
- AI Object Removal
- AI Portrait Retouch
- AI Filters
- AI Expand
- Text and Sticker Tools
- Color Adjustment
These features help beginners edit photos without needing to learn advanced editing software.
Why Should Beginners Use Hypic AI?
Many photo editing apps have too many buttons and settings that can confuse new users. Hypic AI keeps everything simple.
Here are a few reasons why beginners like it:
- Easy interface
- Fast editing process
- One-tap AI tools
- Professional-looking results
- No editing experience needed
- Saves time
Instead of spending an hour editing one picture, you can create a great result in just a few minutes.
Step 1: Open the app.
After installing Hypic AI, open the app on your phone.
The home screen will show different editing options. Don’t worry if it looks new. Most tools are clearly labeled, making them easy to understand.
Take a minute to explore the menu before starting your first project.
Step 2: Choose a Photo
Tap the gallery option and select the photo you want to edit.
For the best results, choose a picture that is:
- Bright
- Clear
- High quality
- Not blurry
AI performs better when the original image is sharp.
Step 3: Start with AI enhancement.
If you’re editing your first photo, begin with the AI Enhance tool.
This feature automatically improves your image by:
- Increasing clarity
- Improving lighting
- Balancing colors
- Making details sharper
You only need one tap.
After the edit is complete, compare the original image with the edited version. You’ll quickly notice the difference.
Step 4: Improve Portraits
If your picture includes a person, try the portrait editing tools.
These tools can help:
- Smooth skin naturally
- Brighten the face
- Improve eye details
- Reduce small marks
- Make the portrait look fresh
Try to keep the changes natural. Over-editing can make photos look unrealistic.
Step 5: Change the Background
Sometimes the background makes a photo look messy.
Hypic AI lets you remove or replace the background easily.
You can choose:
- Simple colors
- Nature scenes
- City views
- Creative designs
Pick a background that matches your photo instead of choosing one that looks too busy.
Step 6: Remove Unwanted Objects
Have you ever taken a great photo but noticed something unwanted in the background?
The AI Remove tool can erase many unwanted objects, such as
- Extra people
- Wires
- Trash bins
- Signs
- Small distractions
After removing an object, zoom in and check the edited area to make sure it looks natural.
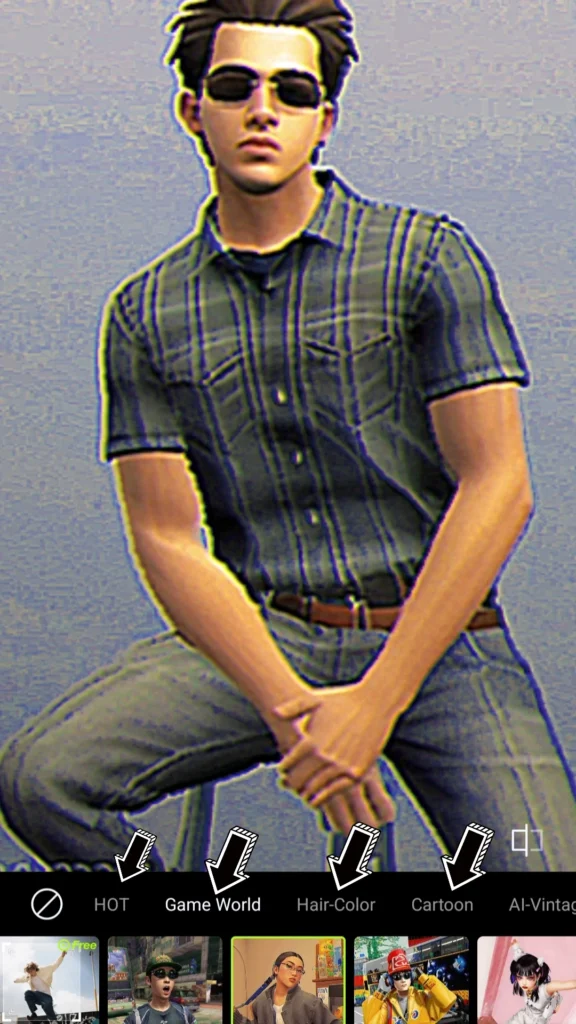
Step 7: Try AI Filters
Filters change the overall style of your image.
Some filters create a warm feeling, while others make colors brighter or give photos a dramatic look.
Instead of applying every filter, test a few and choose the one that best matches your photo.
Remember, simple edits usually look better than heavy effects.
Step 8: Adjust the Photo Manually
Although AI does most of the work, you can still make small adjustments.
You can improve:
- Brightness
- Contrast
- Saturation
- Warmth
- Sharpness
- Shadows
Small adjustments often make a big difference.
Step 9: Save Your Edited Photo
Once you’re happy with the result, save your image.
If possible, choose the highest quality available.
High-quality images look better when shared on social media or printed later.
Tips for Better AI Editing
Follow these simple tips every time you edit:
- Use good lighting when taking photos.
- Keep your camera lens clean.
- Choose clear, high-resolution pictures.
- Don’t overuse beauty effects.
- Compare before and after editing.
- Save a copy of the original image.
- Experiment with different AI tools.
Practice is the best way to improve your editing skills.
Common Mistakes Beginners Make
Many new users make small mistakes during editing.
Avoid these common problems:
- Editing blurry photos
- Using too many filters
- Making skin too smooth
- Increasing brightness too much
- Choosing backgrounds that don’t match
- Saving photos in low quality
Keeping your edits simple usually gives the most natural results.
Best Ways to Use Hypic AI
Hypic AI can be useful for many types of photos, including the following:
- Selfies
- Family pictures
- Travel photos
- Instagram posts
- YouTube thumbnails
- Profile pictures
- Product photos
- Festival images
- Birthday photos
No matter what kind of photo you’re editing, the app offers tools to make it look more attractive.
My Experience with the Hypic App: A Beginner’s Guide to Creating Amazing Photo Edits
When I first started using the Hypic app, I was a complete beginner. At first, I didn’t know how to use its editing tools or create professional-looking photos. However, I already had some experience with photo editing apps like PicsArt, so learning Hypic became much easier because many of the features felt familiar.
As I continued practicing, I became more confident and learned how to use the app effectively. Over time, I improved my editing skills and can now create high-quality photo edits with ease. My experience with Hypic has been excellent, and that’s why I wanted to share it with you.
If you’re new to photo editing, don’t worry. With a little practice, you can also learn how to use Hypic and create amazing photos. The app is simple to use once you understand its tools, and it offers many creative features to help you make your pictures stand out.
Currently, the Hypic app is not officially available in India, so I’ve also provided a download link to help you install it and get started.
Conclusion
Hypic AI is a great choice for anyone who wants to edit photos without learning complicated software. Its AI-powered tools make editing simple, fast, and enjoyable. Even if you have never edited a picture before, you can create impressive results by following a few easy steps.
The best way to learn is by practicing. Try different tools, compare your edits, and discover what works best for your style. Over time, you’ll become more confident and create photos that look clean, creative, and ready to share.
FAQ’s
Is Hypic AI easy to learn?
Yes. Most beginners can understand the basic tools within a few minutes because the app is designed to be simple.
Do I need editing experience?
No. The AI handles most of the editing automatically, making it suitable for first-time users.
Which feature should I try first?
AI Enhance is a great place to start because it quickly improves your photo with very little effort.
Can I edit selfies?
Yes. Portrait editing tools are especially useful for improving selfies while keeping them natural.
How can I get better results?
Use clear photos, avoid over-editing, and make small adjustments instead of large changes.
1 thought on “How to Use Hypic AI: A Beginner’s Guide (2026)”