Most people think professional photo editing is difficult. I used to think the same way when I first started editing photos. At the beginning, I only knew how to adjust brightness and apply simple filters. My edits looked ordinary, and I wasn’t happy with the results.
After practicing every day, I learned that great editing is not about using dozens of effects. It is about making small improvements that work together to create a beautiful image.
If you already know the basics of Hypic, it’s time to move to advanced editing. This guide will teach you simple techniques that make your photos look cleaner, more attractive, and more professional.
The best part is that you don’t need years of editing experience. With practice and patience, anyone can create amazing edits.
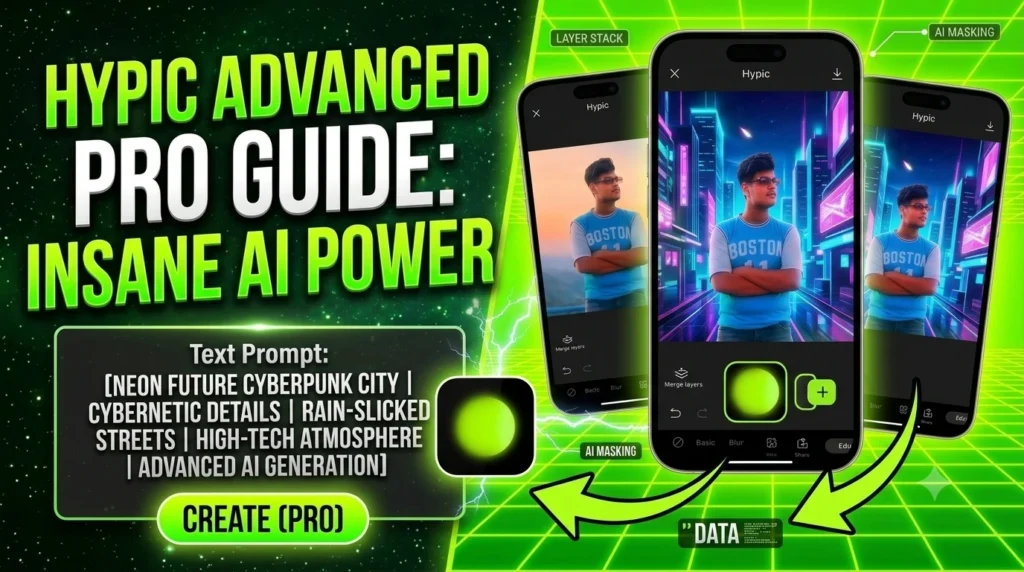
What Is Hypic Advanced Editing?
Advanced editing means going beyond one-tap filters. Instead of letting the app do everything automatically, you control every part of the photo.
You can improve:
- Lighting
- Colors
- Shadows
- Background
- Skin tone
- Image sharpness
- Overall mood
These small changes make a huge difference.
Start with a High-Quality Photo
Even the best editing cannot completely fix a poor-quality image.
For the best results:
- Use natural daylight whenever possible.
- Avoid blurry photos.
- Clean your camera lens before taking pictures.
- Use the highest camera resolution available.
A good photo is the foundation of great editing.
Improve Lighting First
Lighting is one of the most important parts of photo editing.
Before using filters or effects, adjust the lighting.
Focus on:
- Brightness
- Contrast
- Highlights
- Shadows
- Exposure
Don’t make your image too bright. A balanced photo always looks more natural.
Make Colors Look Natural
Many beginners increase saturation too much.
This makes photos look fake.
Instead:
- Increase colors slowly.
- Keep skin tones realistic.
- Balance warm and cool colors.
- Check how the image looks before saving.
Natural colors always look more professional.
Use AI enhancement carefully
AI Enhance is a powerful feature, but you don’t have to use it at full strength.
After applying AI enhancement:
- Compare the original photo.
- Reduce the effect if necessary.
- Keep details natural.
Small improvements usually create the best results.
Master Portrait Retouching
Portrait editing is more than smoothing skin.
A good portrait should still look like the real person.
Improve:
- Skin texture
- Eye brightness
- Hair details
- Face lighting
Avoid making the skin too soft because it removes natural detail.
Create Better Backgrounds
A clean background helps people focus on the subject.
If the background is distracting:
- Remove unwanted objects.
- Blur the background slightly.
- Replace it with a simple background.
- Match the lighting between the subject and background.
This creates a much more professional look.
Learn Color Grading
Color grading changes the mood of your image.
For example:
- Warm colors create a happy feeling.
- Cool colors create a calm mood.
- Dark colors create dramatic effects.
Try different color combinations until you find one that matches your photo.
Use Shadows to Add Depth
Many beginners increase brightness but forget about shadows.
Shadows help create depth.
A photo with balanced shadows looks more realistic than one that is completely bright.
Adjust shadows slowly until the image looks natural.
Improve Sharpness Without Overdoing It
Sharpness makes details stand out.
Too much sharpness creates unwanted noise.
Increase sharpness little by little until the subject becomes clear.
Zoom in while editing so you can see the details.
Remove Distractions
Professional editors always remove anything that takes attention away from the main subject.
Look carefully for:
- Electric wires
- Dust
- Random people
- Trash
- Small unwanted objects
A clean image always looks more attractive.
Add Text the Right Way
If you’re creating:
- YouTube thumbnails
- Instagram posts
- Posters
Use simple fonts.
- Choose colors that are easy to read.
- Avoid adding too much text.
- Leave enough empty space around the words.
Save in High Quality
Many users spend time editing but save the photo in low quality.
Always export your image using the highest available resolution.
High-quality images look better on:
- YouTube thumbnails
- Websites

Hypic Advanced Editing Tips
Here are a few habits that can improve every edit:
- Keep your edits simple.
- Compare before and after.
- Don’t use every effect.
- Zoom in while editing.
- Take breaks and review your work later.
- Practice with different types of photos.
Every edit teaches you something new.
Common Mistakes to Avoid
Many beginners make these mistakes:
- Using too many filters.
- Over-smoothing skin.
- Making colors too bright.
- Editing blurry photos.
- Adding too much contrast.
- Using low-quality images.
The best edits are often the ones that look natural.
Practice Makes Perfect
No one becomes an expert in one day.
Try editing:
- Portraits
- Nature photos
- Travel pictures
- Food photography
- Street photography
Each type of photo helps you learn new editing skills. As you practice, you’ll discover your own editing style.
My Final Thoughts
It took me about two months to fully learn the Hypic app. I didn’t become an expert overnight; I practiced a little every day and explored each tool one by one. As I gained experience, I learned how every feature works and how to use it to create high-quality, professional-looking photos.
If you’re just starting, my advice is to be patient and take your time learning the app. Don’t rush. Practice regularly and pay close attention to each editing tool.
The more you experiment, the more confident you’ll become. If you ever face a photo editing problem, you’ll already know which tool to use and how to fix it.
With consistent practice, you can become an expert too. Once you build your editing skills, you can create amazing photo edits for yourself, friends, or clients. Many people are willing to pay for high-quality photo editing, so this skill can even become a source of income.
Personally, I’ve been able to earn money using the editing skills I learned with Hypic. For easy AI editing, prompts are very important for generated photos. That’s why I encourage you to keep practicing and never give up.
Invest your time in learning the app, improve your creativity, and continue building your skills. With dedication and patience, you can become a professional photo editor and turn your passion into a rewarding opportunity.
FAQ’s
Is Hypic good for advanced editing?
Yes. Once you understand its tools, you can create professional-looking edits without using complicated desktop software.
Can beginners learn advanced editing?
Absolutely. Start with simple adjustments like brightness and color, then gradually learn more advanced tools.
Which tool should I master first?
Learning how to control lighting and colors will improve almost every photo you edit.
How long does it take to become good at editing?
If you practice regularly, you’ll notice better results within a few weeks. The more photos you edit, the more confident you’ll become.
1 thought on “Hypic Advanced Editing Guide 2026: Learn Professional Photo Editing Like a Pro”